|
or: How I printed and bound a 600 page book in less than one day
©2007, Dylan McNamee
| |
|
This weekend I decided I wanted to learn about the new stuff in Java 1.5.
Generics, auto-boxing/unboxing, etc. This is the kind of reading that works
best for me in a printed book.
Fortunately for me (and for Cheap Impostor), Sun's official Java Language Specification
is available as a free PDF file, with license given to each user to print one
copy.
Click here for a
copy of your own.
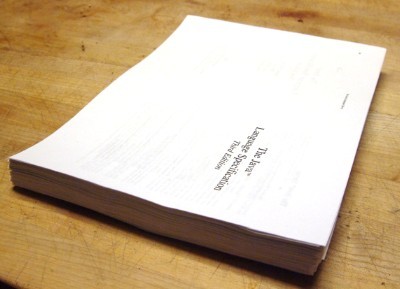
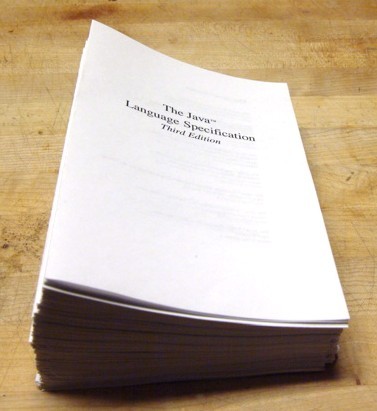
Using Cheap Impostor, I was able to turn Sun's PDF file into this book with about
2 hours effort (plus some waiting):
|
|
|
|
Here's how I did it
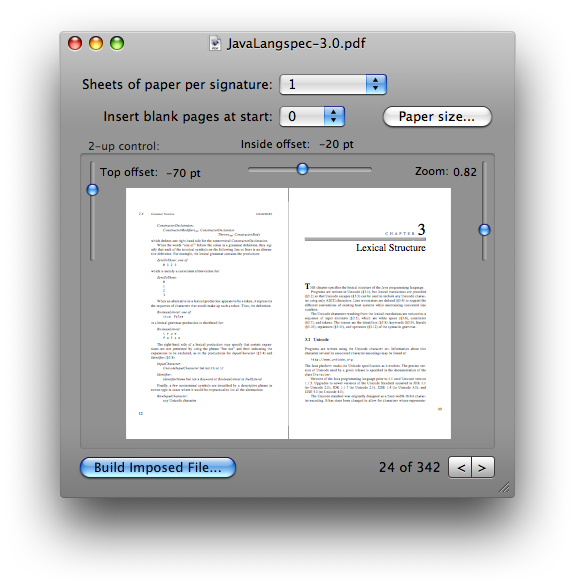
First, I fired up Cheap Impostor, and adjusted the
zoom and offset settings. I tried to get the outermost content as close to the
printable edge of the paper as possible, and also to leave about 3/4-inch margin
on each half of the page. Here is a screenshot of Cheap Impostor showing
the settings I came up with, and the preview
of my output when I was pretty happy with the settings.
For long books like this one, and for the binding style I wanted to use,
"Sheets of paper per signature" should be 1. If I wanted to sew the pages
before binding, I would have chosen something like 4, but that would have
turned this from a 2-hour project into a 2-day project. It turns out I've
never actually used the "Insert blank pages at start" feature. Maybe I should
take it out.
|
|
|
|
Tweaking zoom and offset
I often need to use negative offsets when imposing
documents intended for full-sized letter paper. In this case, the top offset was -18pt,
and the inside offset was -50pt. The zoom factor of 0.81 is what I spent most of
my time adjusting in order to get the outside margin "just right" (about 0.25 inches).
It turns out that for this book these settings are not perfect. The page numbers
on chapter headings get a bit chopped off, but all-in-all, it's pretty good.
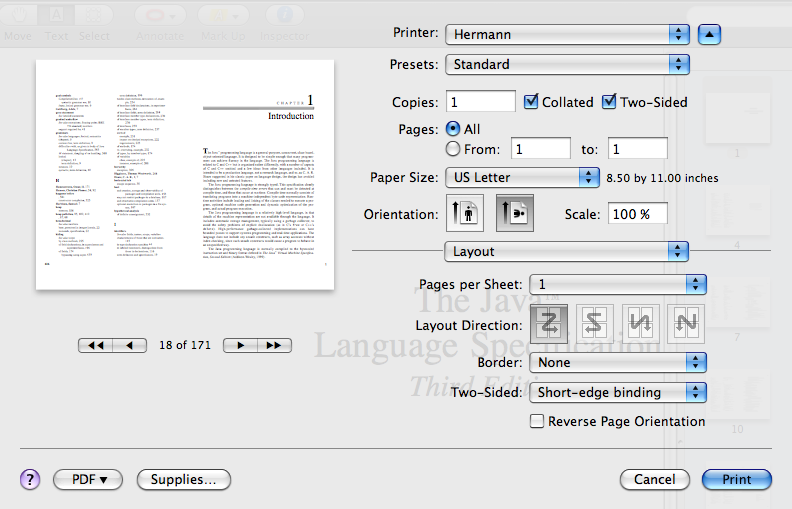
Printing the document
|
|
|
The main issue when printing is figuring out the binding edge. If you do not
have a duplex unit, it doesn't matter what "Binding edge" setting you choose
in Cheap Impostor's "Preferences" panel, but which you choose determines how
you flip the stack of paper over when printing the back-sides. Until writing
this program, I didn't think much about the different ways of flipping a sheet
of paper over. As an example, when you turn a page of a book, you're
flipping along the long edge. When you're using a clipboard, and you turn
to the next sheet, you're flipping along the short edge. If the content of
those pages matches the binding edge, the flipped side is right-side-up.
If it's a mismatch, the flipped side is upside-down.
If you do have a duplex unit, your printer dialog has a "binding edge" preference.
All you need to do is match that setting to the "binding edge" preference in
Cheap Impostor.
|
|
|
|
Troubleshooting
It didn't come up in this document, but the most common problem people have
when using Cheap Impostor is that it doesn't respect cropping or page
insertion operations or other esoteric PDF alterations. The solution is to open the
file in "Preview" (not Acrobat Reader) and Print,
then "Save as PDF..." - the file produced by this
method is cleaned up and ready for Cheap Impostor.
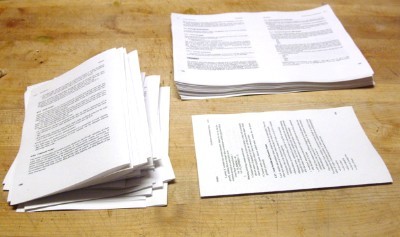
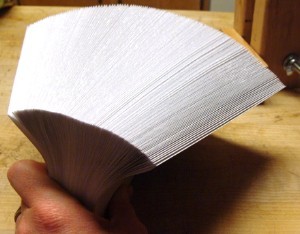
Folding
This is the most time-consuming step (for most books), but it's also the one that
there is the least to say about.
Your goal in this step is to turn the pile of pages that came out of the printer
into the pile of folded pages you see on the right.
|
|
|
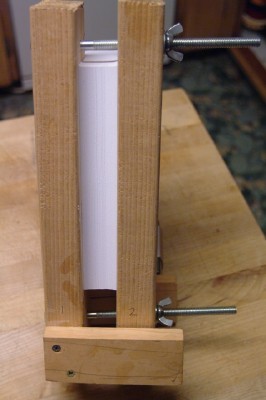
Binding
Now for the fun part! For my first few books, I used piles of books as my book vise.
At some point I decided it would be worth the investment of an hour to build my own vise.
As you can see from the figures below, it's a simple thing: I made it from 2 2x4's, some
some scrap wood and some long bolts with wingnuts. Details are in the Cheap Impostor
documentation, but it should be pretty self explanatory.
|
|
|
Squishing and gluing
| |
|
First, tamp the signatures so they're even |
Next squish the signatures in the vise |
|
|
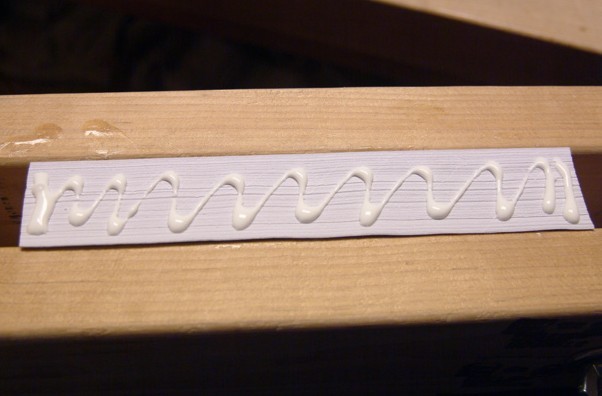
Then slide the signatures close to the edge
of the vise, and squiggle glue along the folds. |
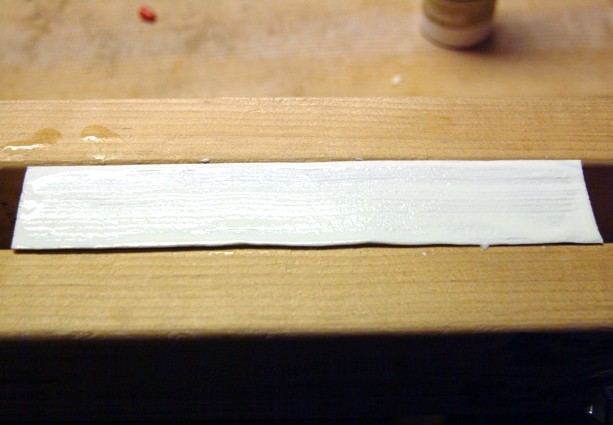
...and smooth the glue along the folds. Here, be
careful to make sure each fold gets covered with glue. |
|
|
The cover
I stopped at this step on my first book. I still have that book (it's the PDF
version of my camera's manual). It still "works", but it's getting uglier every day.
Since then, I've been
working on different ways of covering my books. Here's the way I like the best so far.
I borrowed the idea from the way O'Reilly books are covered. Here's what I do. (again,
for details missing here, check out the Cheap Impostor user's manual.
The key to this cover style is an extra piece of paper between the cover and the "block of
pages" you just made. After the glue on the binding has dried, glue another piece of
paper against the binding. After that glue has dried, glue the paper around the
corner of the binding by 1/4".
| |
|
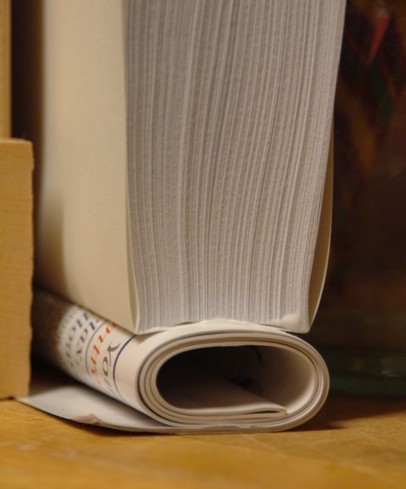
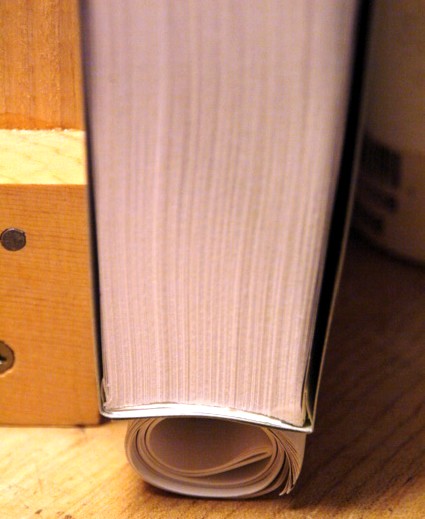
Here is the extra sheet of paper being
glued to the binding. I like to let it dry while resting on some rolled-up junk mail - this helps
the paper stay stuck to the binding. |
Next glue the paper around the edges of
the binding by 1/4". Also, trim the paper so that it doesn't quite wrap around to the
other edge of the binding. |
|
|

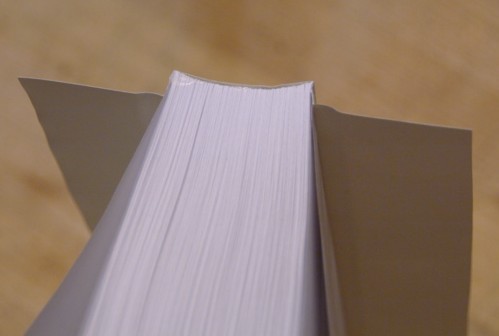
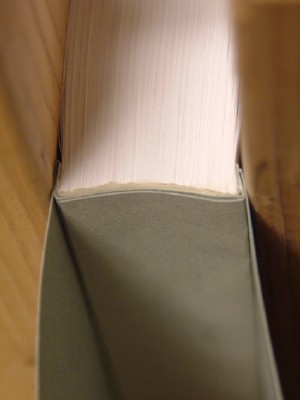
This is how the cover interleaves with the
binding paper. The first gluing step is to glue the inner cover layer to the inner paper layer
(not to the binding edge). Then glue the second paper to this cover, and the second cover
(which should be the front cover to the second paper. |
Square everything up and use the rolled up junk mail
trick to help press it together while drying. |
|
|
Finally, fold the cover back at 1/4" from the binding
and carefully glue the cover to the 1/4"-wide exposed part of the folded-back paper. |
After it dries, you're done! This photo shows how I folded the cover sheets to the correct length. I used to trim them, but folding makes a thicker cover, and makes it look similar to Japanese book covers. That's a bonus! |
|
|
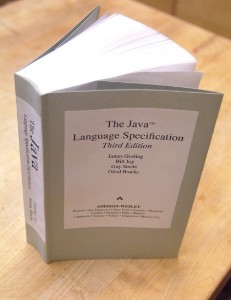
Conclusion
Less than a day after having the idea to bind this book, I had it in my hands, all ready
to learn the goodness of Java 1.5. As a final touch, I used "TextEdit" to create the front
cover and binding-edge text. Not too shabby!
I hope this helped or inspired you to make your own books.
Click here to return to Cheap Impostor
|
|